

In this article
- Key takeaways
- Step 1: Choosing and checking the wire
- Step 2: Coiling the spring
- Step 3: Forming hooks, legs and wire forms
- Step 4: Stress relieving
- Step 5: Grinding the ends of compression springs
- Step 6: Shot peening and presetting
- Step 7: Surface finishing
- Step 8: Inspection and load testing
- Step 9: Packing and delivery
- Spring manufacturing process by spring type
- What the process means for lead time and cost
- What to put on your drawing so the right steps are used
- Frequently asked questions
- About the authors
- Sources
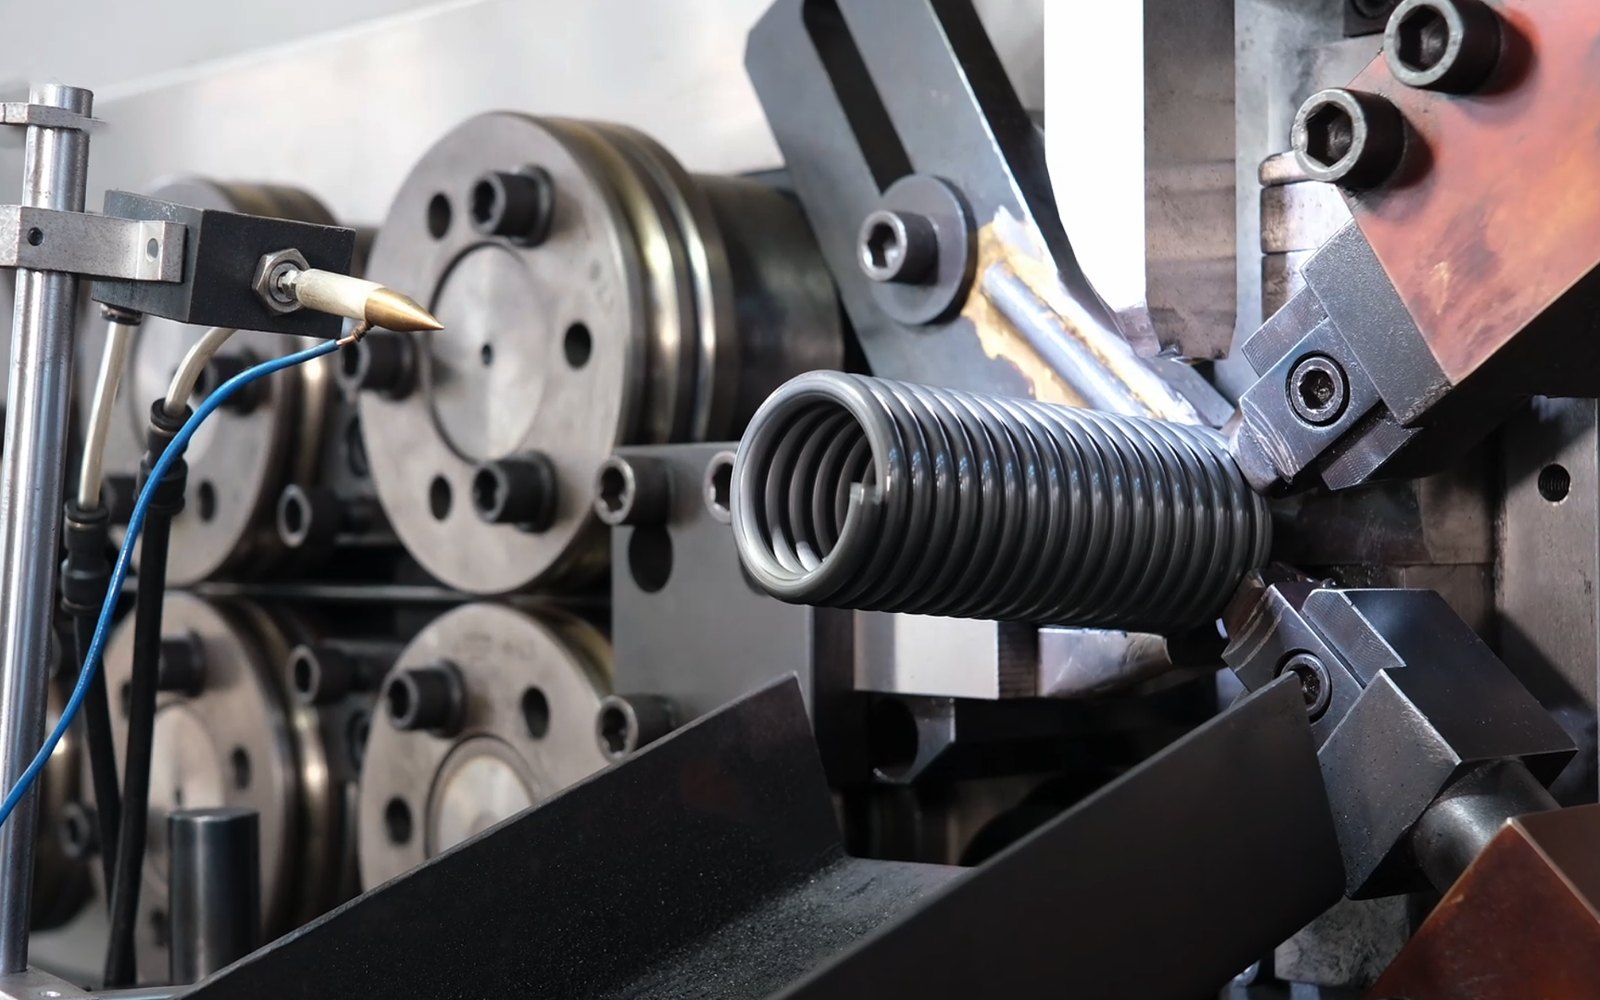
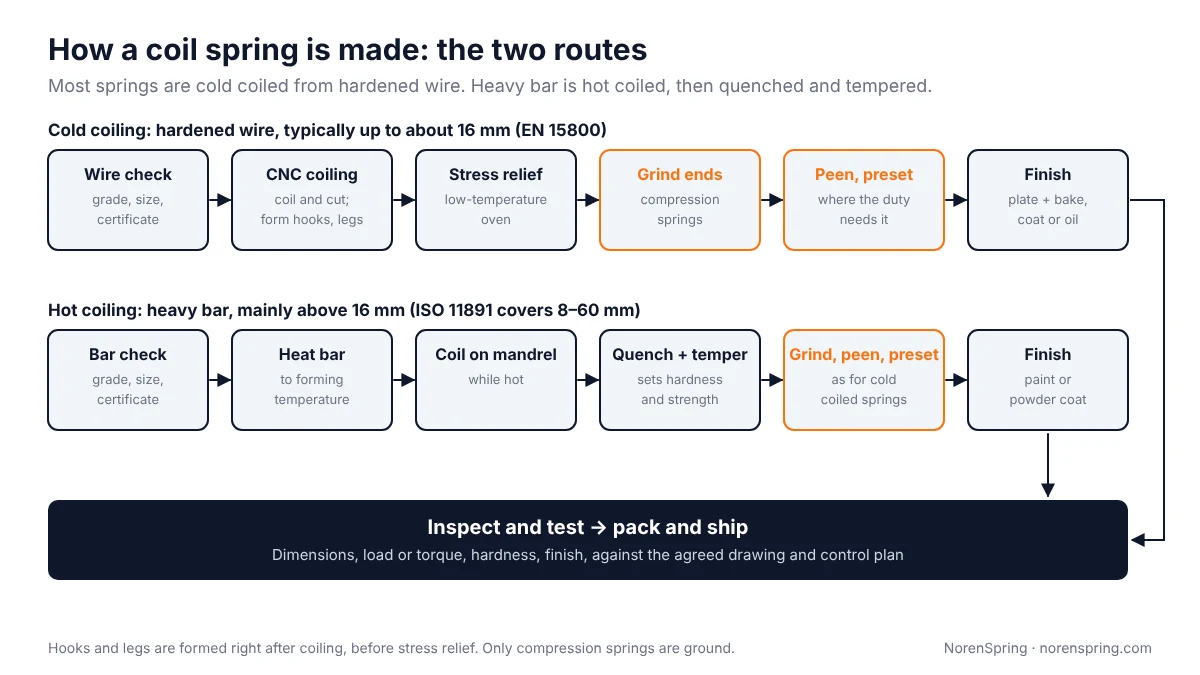
The spring manufacturing process for most coil springs follows the same core sequence. The wire is checked and coiled on a CNC coiling machine, and any hooks or legs are formed on the coiler or a forming machine. The springs are then heated in an oven to relieve the stresses that coiling and forming leave behind. Compression springs that need square ends are ground, any shot peening, presetting and surface finish are added, and the springs are inspected, load tested and packed. Heavy springs made from thick bar follow a different route: the bar is heated, coiled while hot, then quenched and tempered.
This guide breaks the spring manufacturing process into nine steps, explains why each one matters to the spring you buy, and shows photos of several of these steps in our plant in Xuzhou. Knowing the process helps you write a better drawing, understand a quote, and ask the right questions about quality.
Key takeaways
- Wire size decides the route. Cold coiling covers wire up to about 16 mm (EN 15800). Heavier bar is hot coiled and then quenched and tempered; ISO 11891 covers hot-coiled springs from 8 to 60 mm.
- Cold-coiled springs from pre-hardened wire are stress relieved. Coiling leaves residual stresses in the wire; a low-temperature heat treatment relieves them and stabilises the spring’s dimensions and load. Springs coiled from annealed wire are hardened and tempered instead.
- Grinding, shot peening and presetting are added when the duty needs them. Grinding gives square, stable ends; shot peening improves fatigue life; presetting reduces the length the spring loses in service.
- Plated spring steel must be baked. Electroplating can put hydrogen into high-strength spring steel. We bake every zinc plated spring after plating to drive it out.
- Inspection checks what the drawing controls: dimensions, load or torque at the working points, hardness and finish, against the agreed control plan.
Step 1: Choosing and checking the wire
Every spring starts as wire or bar, and the material sets the spring’s strength, temperature limit and corrosion resistance. Most springs are wound from wire that has already been hardened at the mill, such as music wire, hard-drawn carbon wire, oil-tempered wire, chrome-silicon or stainless steel. Small springs are usually wound from this pre-hardened stock, while larger ones are made from annealed steel and hardened after forming [1].
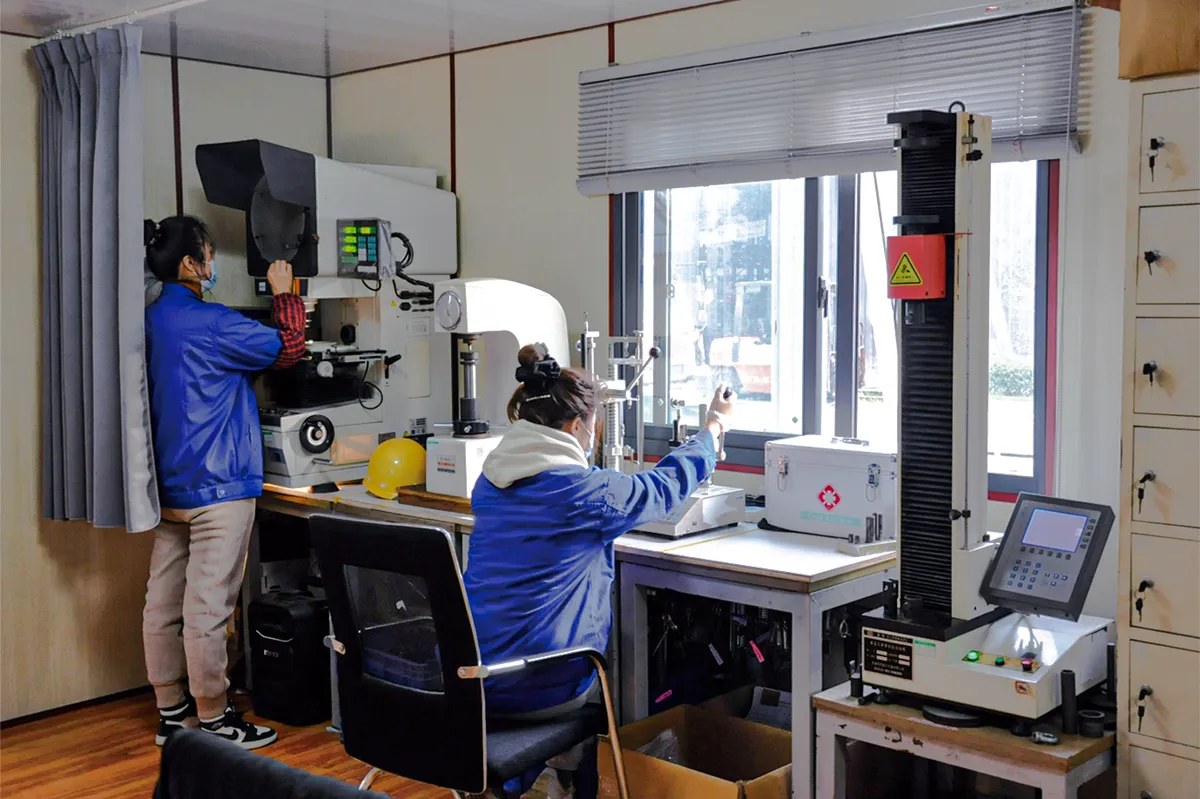
Before production, the wire grade and size are checked against the drawing and the mill certificate. The wires we work with include carbon and alloy spring steels such as 65Mn and 50CrVA, music wire, oil-tempered and silicon-chrome wire, and stainless steel; our spring wire guide compares them. We can confirm the chemical composition of incoming material with a material analyser, and check its hardness on Rockwell and micro-Vickers testers [17].
Step 2: Coiling the spring
Cold coiling on CNC machines
Almost all small and medium springs are cold coiled: the wire is formed at room temperature on a CNC spring coiling machine. Feed rollers push the wire forward a measured length; a point tool deflects the wire as it leaves the wire guide and sets the coil diameter; a pitch tool pushes between the coils to set the spacing; and a cutter cuts each finished spring off against the core block [2]. Because all of these are servo-controlled, the coil diameter, pitch and number of coils can be changed along the spring, which is how conical springs and variable-pitch springs are made.
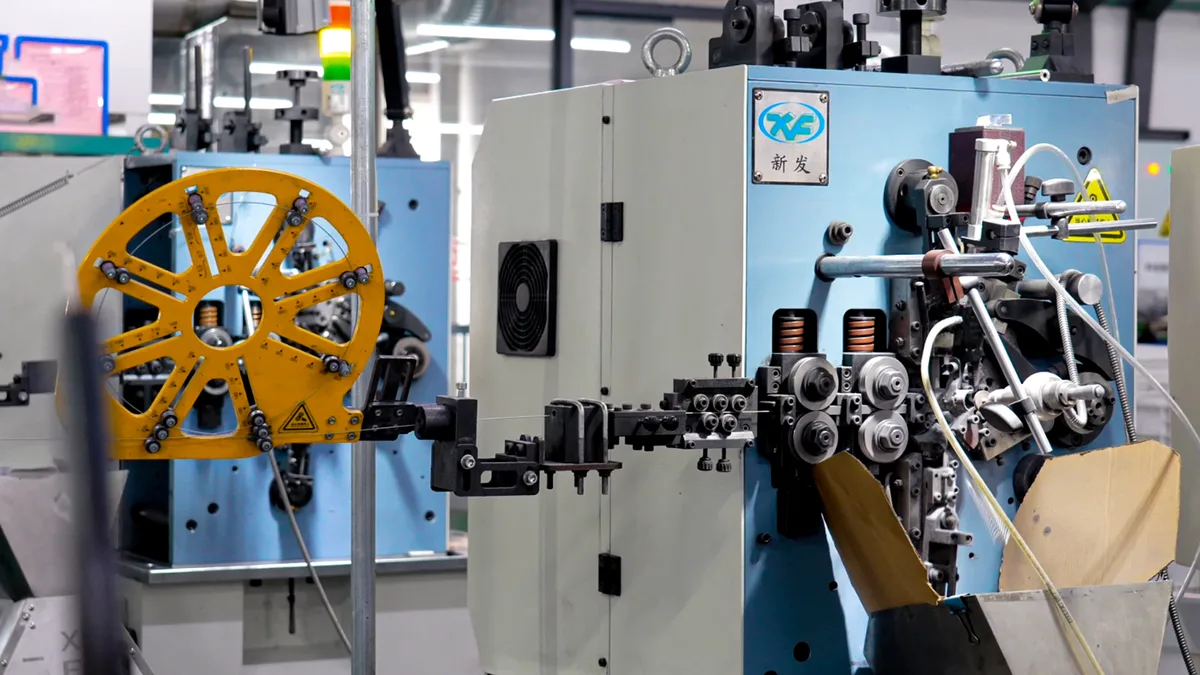
The first parts off the machine are measured and the program is adjusted until they match the drawing. Coiling settings, wire size and spring index together decide how consistently a spring can be made; a very tight or very open coil is harder to hold to size.
Hot coiling for heavy springs
Cold coiling has a practical limit. EN 15800, the European quality standard for cold-coiled compression springs, notes that they can be made with wire up to about 16 mm [3]. For heavy springs, the bar is heated to forming temperature, coiled around a mandrel while hot, then quenched in oil and tempered to give it its final hardness and strength [4][5]. ISO 11891 covers hot-coiled compression springs made from bar of 8 to 60 mm [6], so the two routes overlap: between about 8 and 16 mm the choice depends on the spring’s size, index and quantity.
We make both cold-coiled springs and hot-coiled large springs, across wire diameters from 0.1 mm to 80 mm.
Step 3: Forming hooks, legs and wire forms
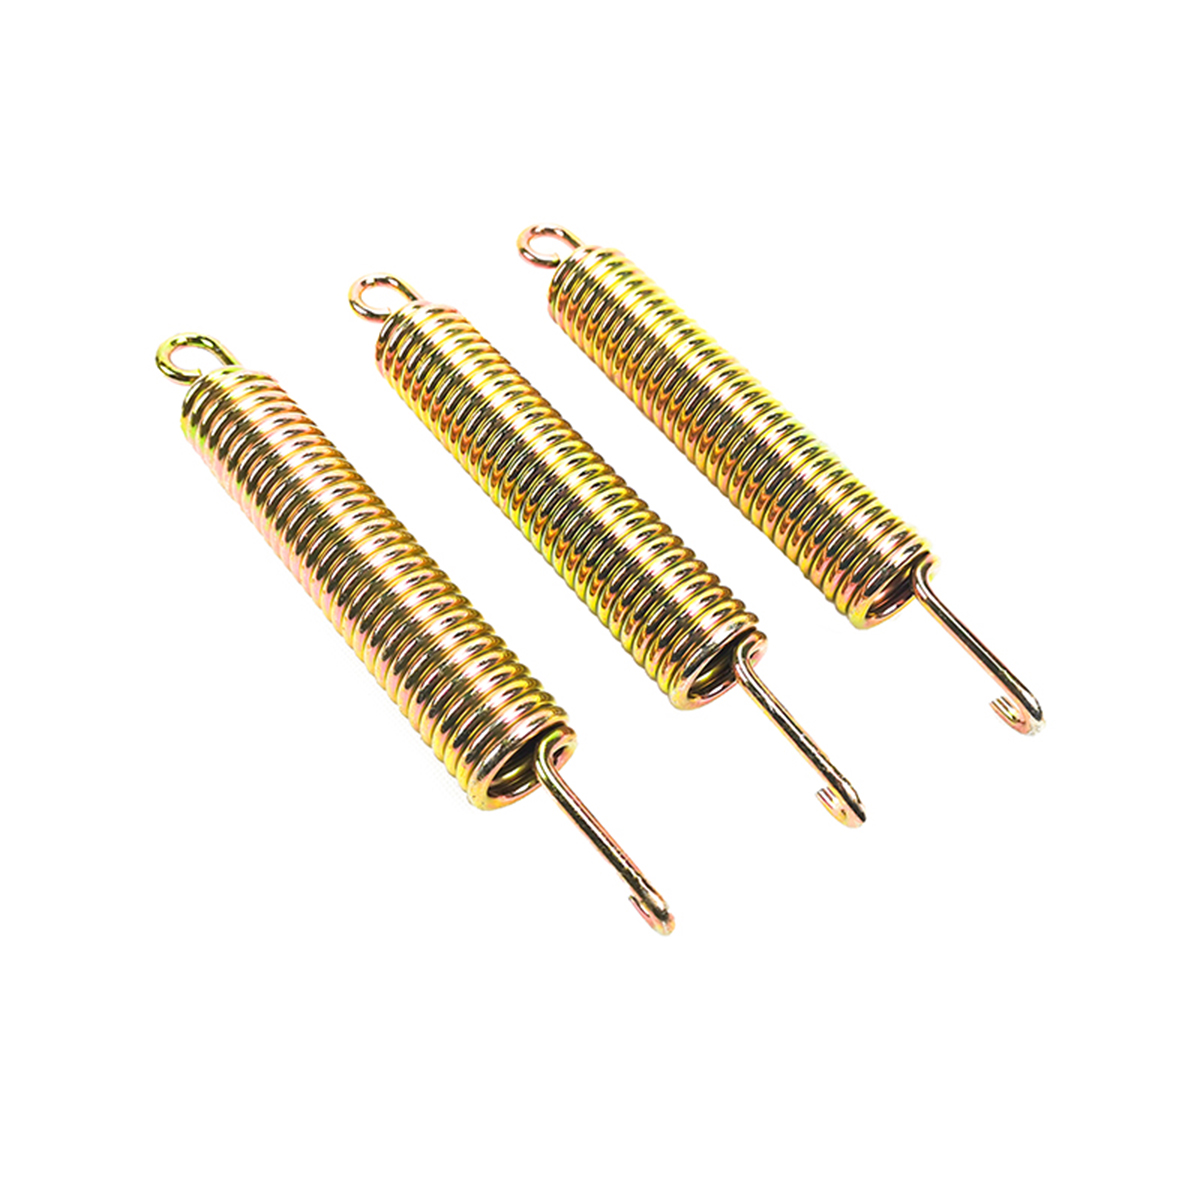
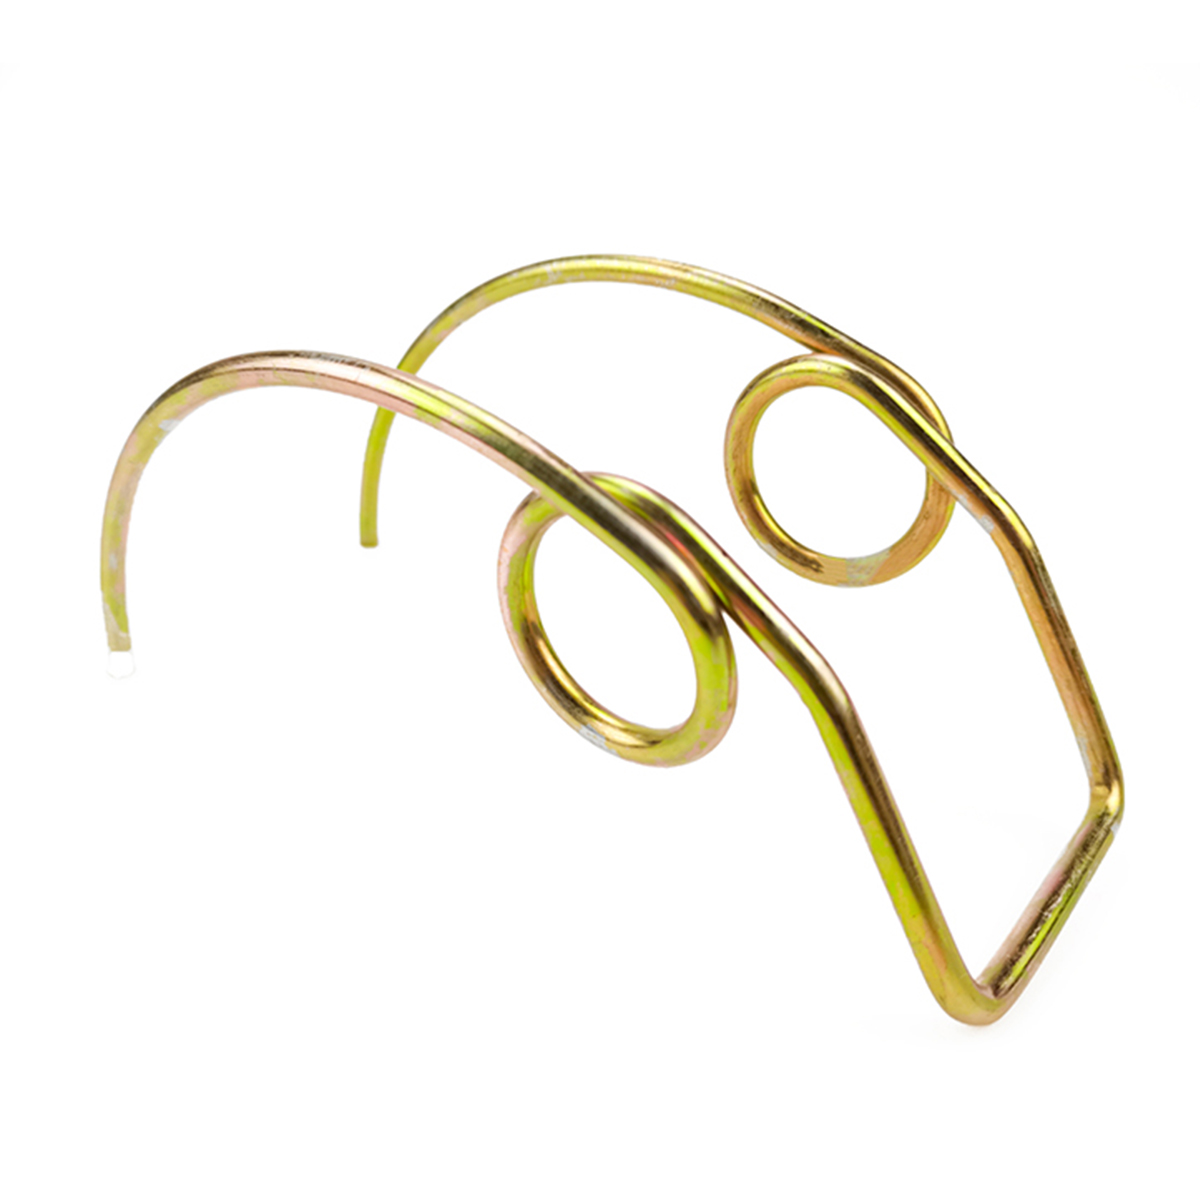
Extension springs, torsion springs and wire forms need their ends shaped, and this is done straight after coiling. Simple hooks and legs can be formed on the coiling machine itself. More complex shapes are made on CNC forming machines with several tool slides arranged around the wire, which bend, loop and cut it in one cycle.
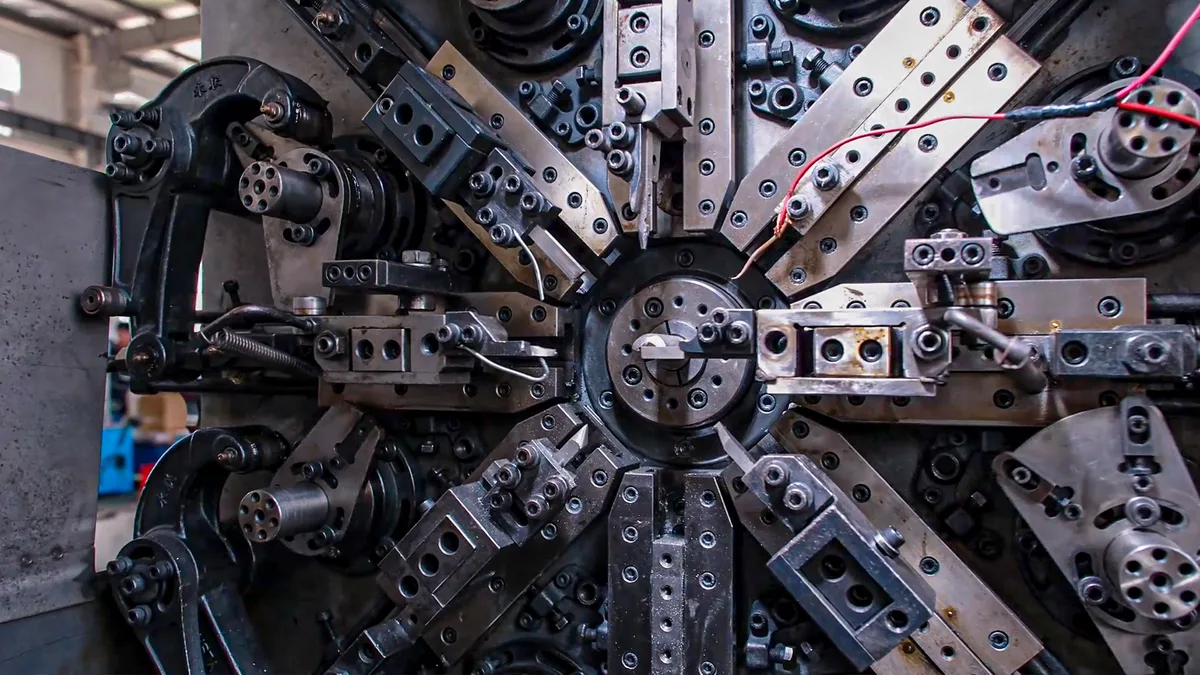
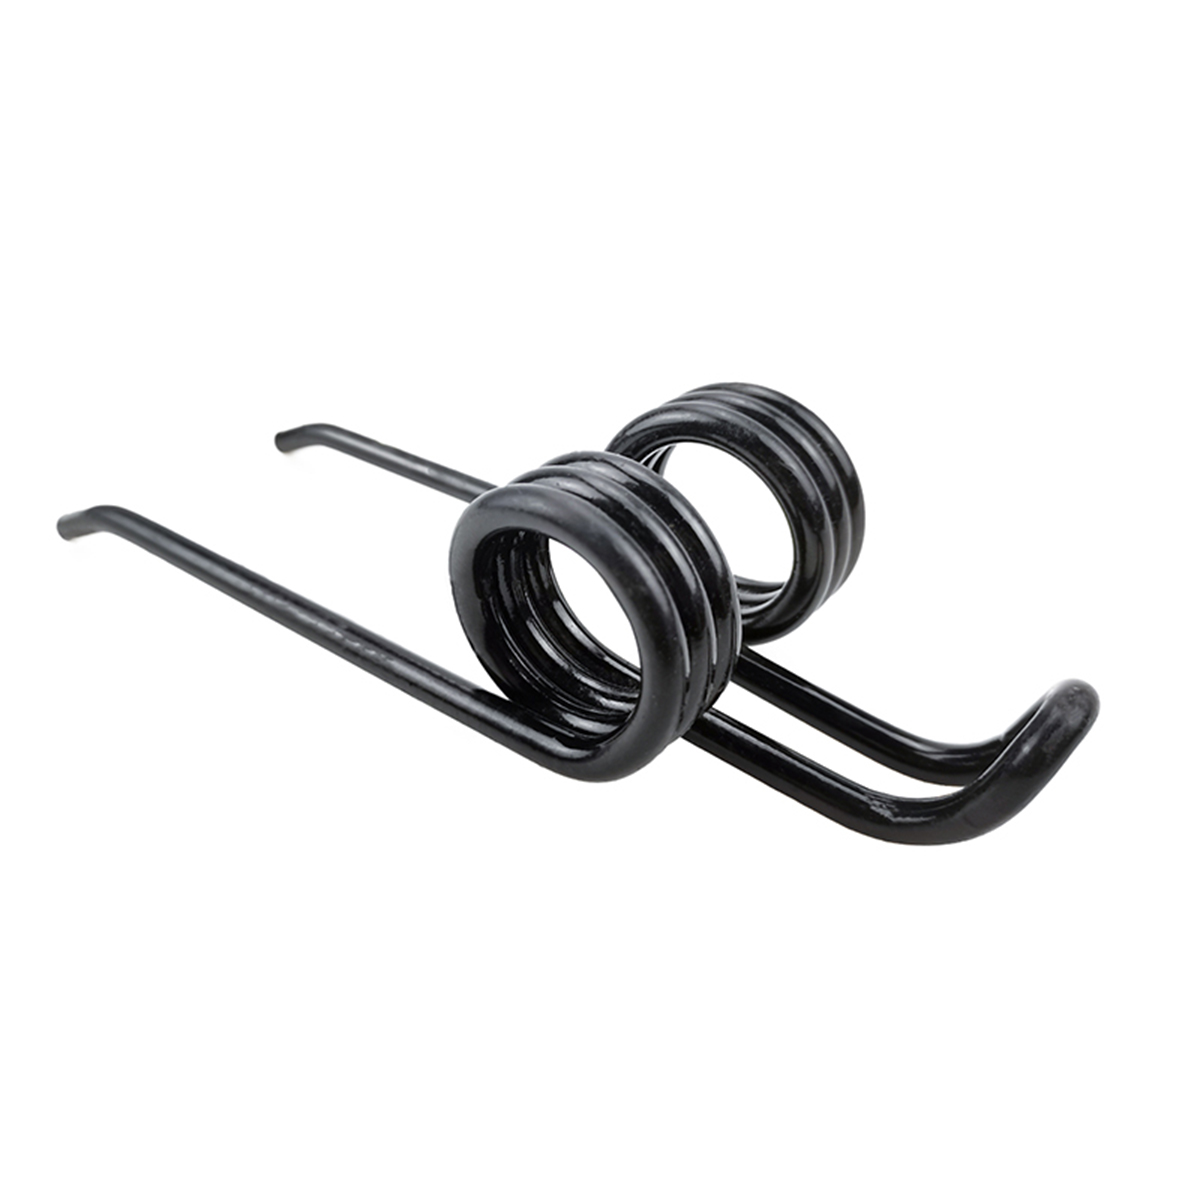
Bending wire into a hook or leg adds stress at the bend, so formed springs go through the same stress relief as coiled ones. The bend is also a common place for fatigue cracks to start; on double torsion spring tines, for example, it is often the bend where the leg leaves the coil. Our extension spring guide and torsion spring guide cover hook and leg design.
Step 4: Stress relieving
Coiling and forming bend the wire well past its elastic limit, and that leaves residual stresses locked in the spring. If they are left in, the spring can change length and load over time. So springs coiled from pre-hardened wire go into an oven for a low-temperature heat treatment, called stress relieving, which relieves the coiling stresses and improves the elastic properties of the wire [7]. In extension springs it can also lower the initial tension slightly, which the coiling settings allow for (see our extension spring guide).
The temperature depends on the material. Oil-tempered wire is stress relieved below the temperature at which it was originally tempered; for valve-spring wire, published practice gives about 400–450 °C for oil-tempered wire and about 350 °C for cold-drawn wire [7]. 300-series stainless steel is typically stress relieved at about 370 °C (700 °F) [8]. Other grades, such as music wire, have their own temperatures, so the exact time and temperature are set for each wire grade and size.
Springs that start from annealed wire or hot-coiled bar are hardened and tempered instead, which sets their strength and relieves the forming stresses at the same time.
Step 5: Grinding the ends of compression springs
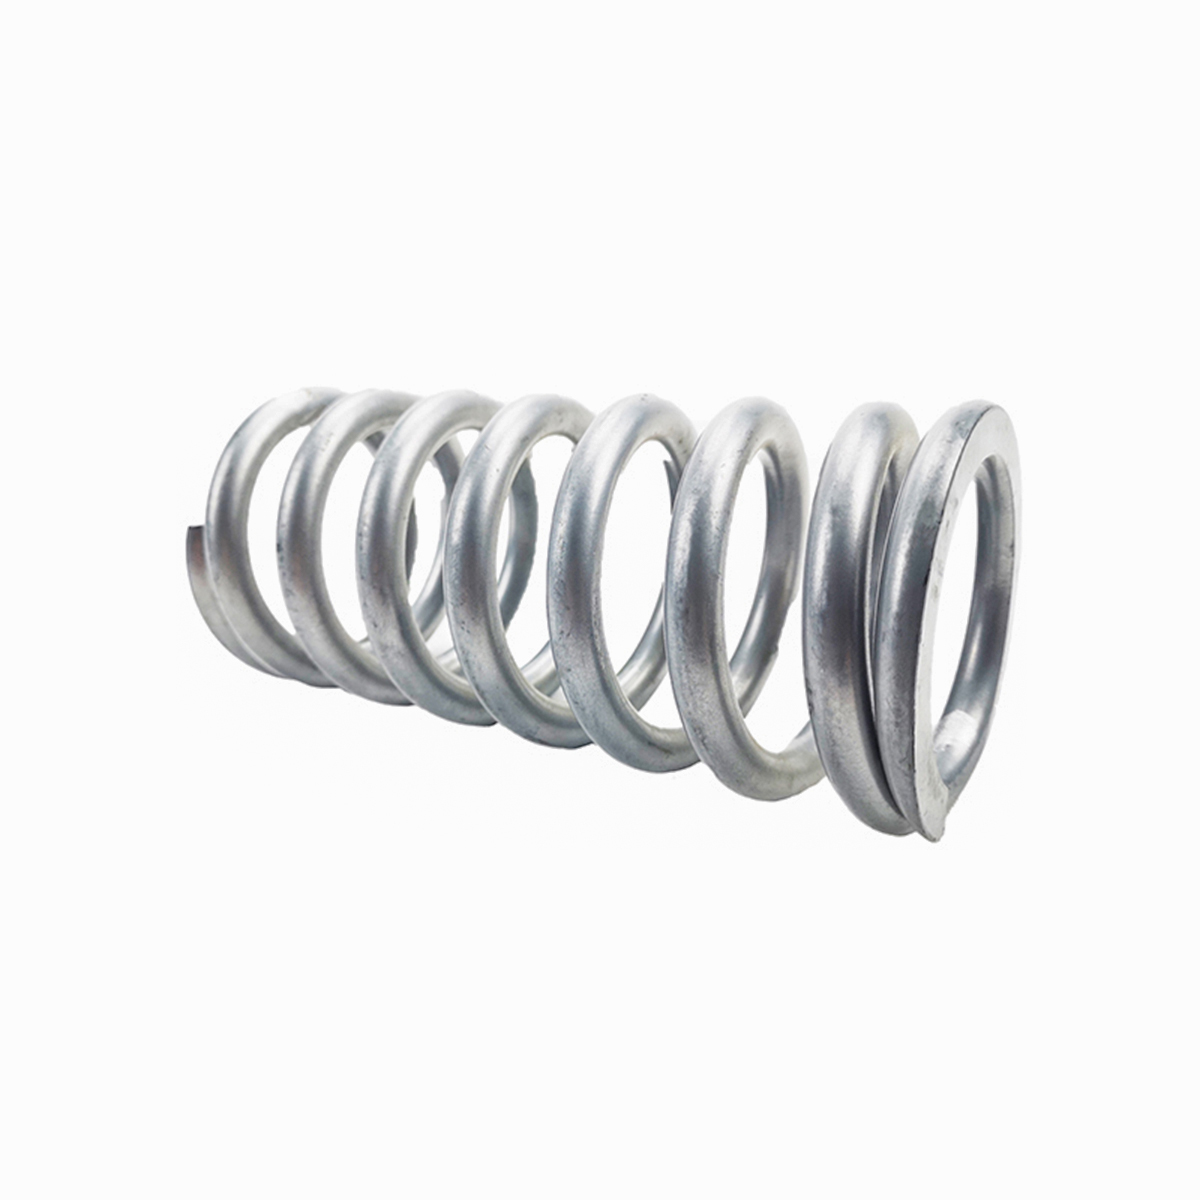
Compression springs that must stand square, sit evenly on their seats or work to close load tolerances have their end coils ground flat; our guide to specifying a compression spring covers end types. Grinding gives a flat bearing surface on each end, improves squareness and reduces solid height [9]. On a typical ground end, the flat seat runs around about 270° of the end coil [10].
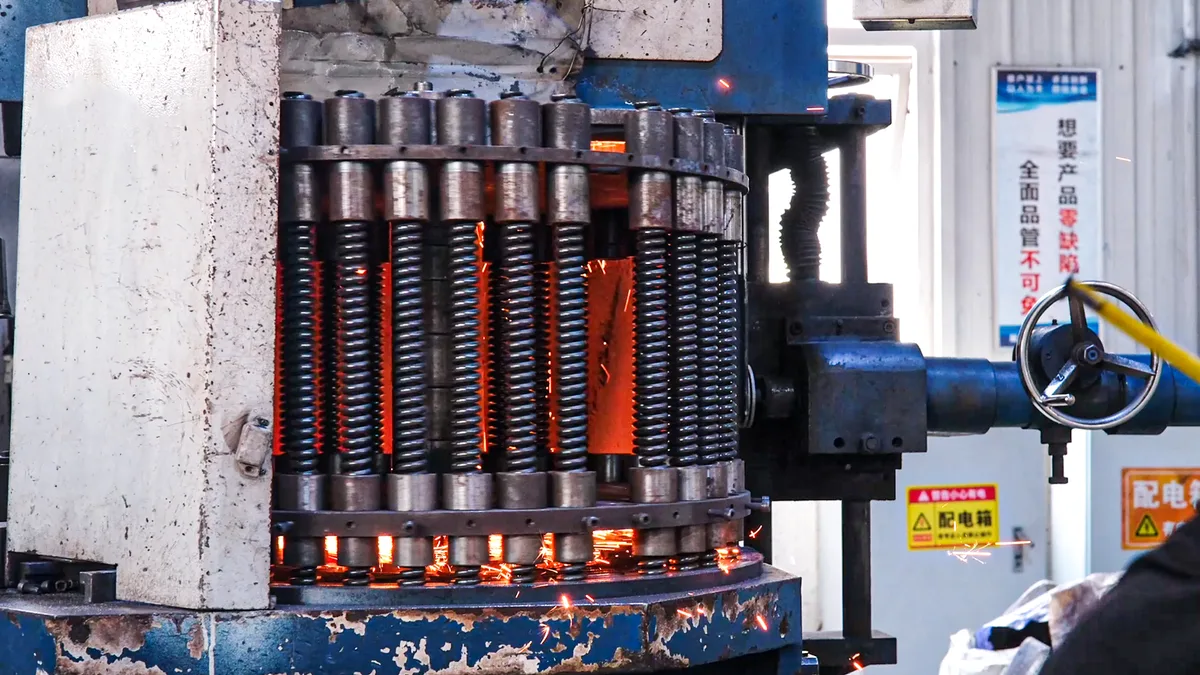
Grinding is done after stress relieving, so the ends are ground on a stable spring. Our spring index guide shows how ground and unground ends change the total coils and solid height.
Step 6: Shot peening and presetting
These two steps are added for springs that work hard: high stress, many cycles, or both.
Shot peening blasts the spring with small steel shot. Each impact leaves the surface in compression, and that compressive layer resists fatigue cracks [11]. In a compression spring the most important benefit is the compressive stress on the inside of the coil, where the working stress is highest [12]. Coverage matters: the Institute of Spring Technology recommends an absolute minimum of 80% [12]. Peening intensity is measured with Almen strips [11], and SAE J2441 sets out the engineering requirements for the process [13]. Springs are usually given a second low-temperature stress relief after peening; without it, they can take a significant set when first loaded [14].
Presetting (also called scragging) means compressing the spring to solid, or to a set load, usually several times. The spring is made slightly longer than its final free length, so presetting takes out the extra length and raises the load the spring can carry without losing height in service [7][10]. For springs that work hot, such as engine valve springs, the same process can be done at temperature [7].
Whether a spring needs these steps depends on how hard it works. Shot peening is mainly about fatigue: a highly stressed spring cycled millions of times often needs it, while one loaded a few times a day rarely does. Presetting is about stress level: a spring whose working stress is close to the material’s elastic limit can need it even if it is rarely cycled. If your drawing calls for shot peening or presetting, say so, along with any required coverage, intensity or loss-of-height limit.
Step 7: Surface finishing
Finishes protect the spring against corrosion and identify it. Common choices are zinc plating, phosphate, black oxide, paint or powder coating, zinc flake, and passivation for stainless steel. Our spring finishes guide compares them in detail.
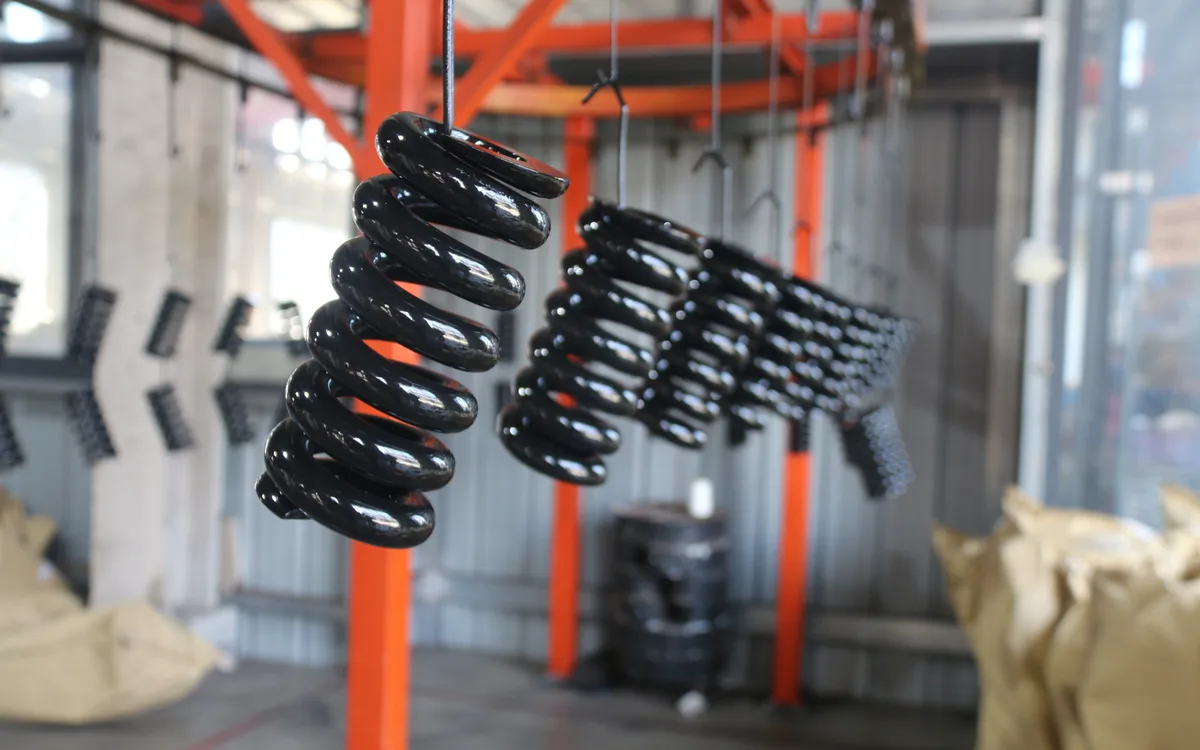
One step in finishing matters more than the rest. Electroplating can put hydrogen into high-strength steel and make it brittle. Industry practice, set out in ASTM B850, is to bake plated parts after plating and before any conversion coating, with conditions chosen by the steel’s strength [15]. We bake every zinc plated spring after plating to drive the hydrogen out, following the applicable national standard [17]. Paint and powder-coat curing ovens also heat the spring, so the cure temperature has to suit the spring’s earlier heat treatment.
Step 8: Inspection and load testing
Inspection checks the spring against what the drawing actually controls. For most springs, that is:
- Dimensions: wire diameter, outside or inside diameter, free length, number of coils, squareness, and hook or leg geometry.
- Load or torque: the force at one or two working lengths, or the torque at a working angle for torsion springs. A common practice is to measure load and length at about 20% and 80% of the spring’s rated load or length, and calculate the rate between them [16].
- Hardness and microstructure, to confirm the heat treatment.
- Finish: appearance, coating thickness and, where specified, corrosion testing.
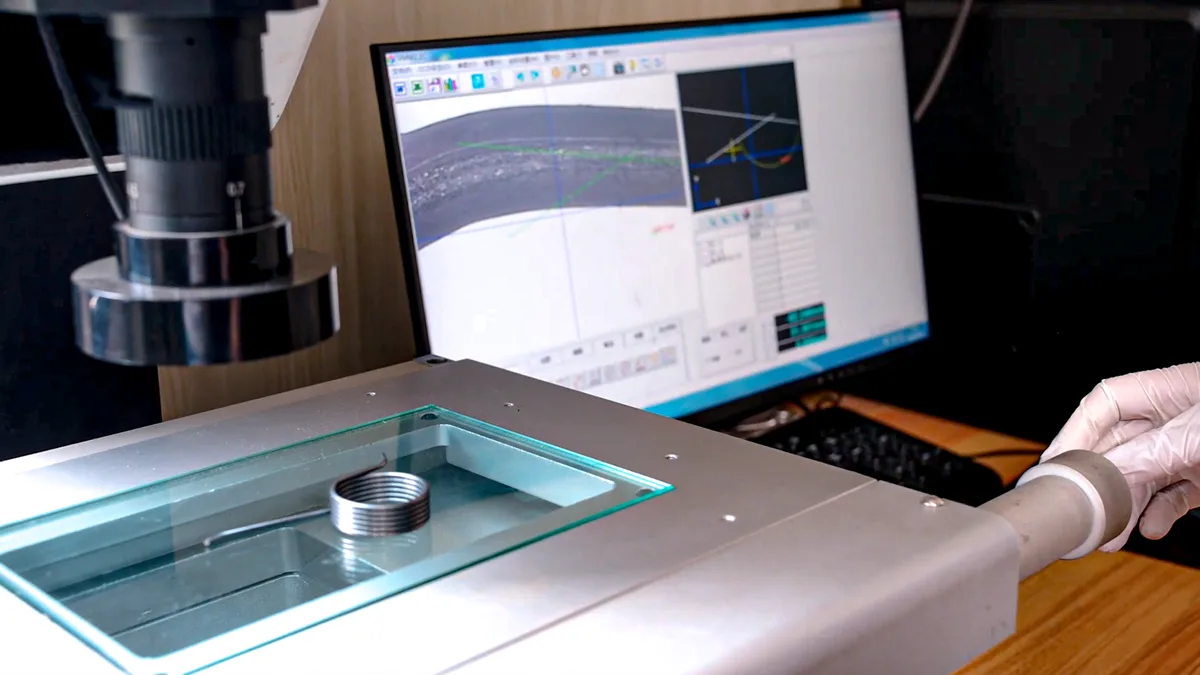
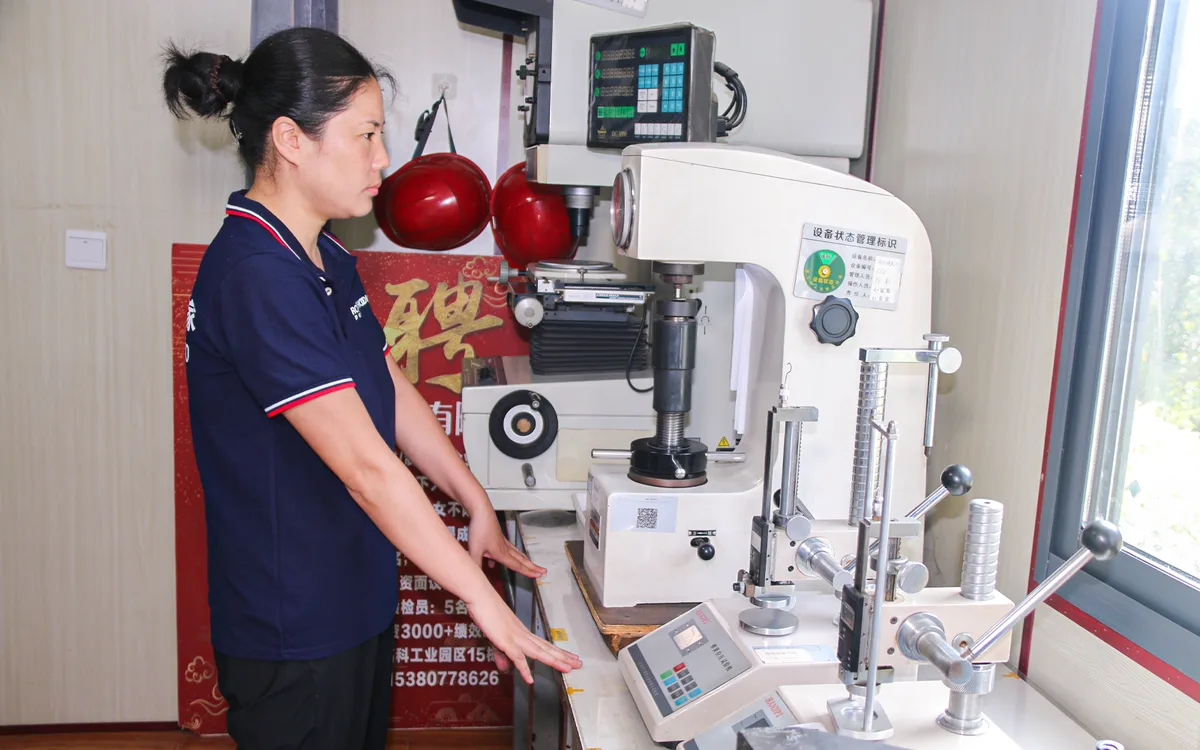
Our in-house laboratory has vision and video measuring systems, digital height gauges, spring tension and compression testers, an automatic spring tester, a torsion spring tester, a spring fatigue tester, Rockwell and micro-Vickers hardness testers, a salt spray tester, a material analyser and a metallographic microscope [17]. Which tests a part gets, and how many parts are checked, is agreed in the control plan for that part. Inspection reports, material certificates, dimensional records and traceability are supplied as agreed at project setup, and PPAP and FAIR packages are available for automotive programs.
Step 9: Packing and delivery
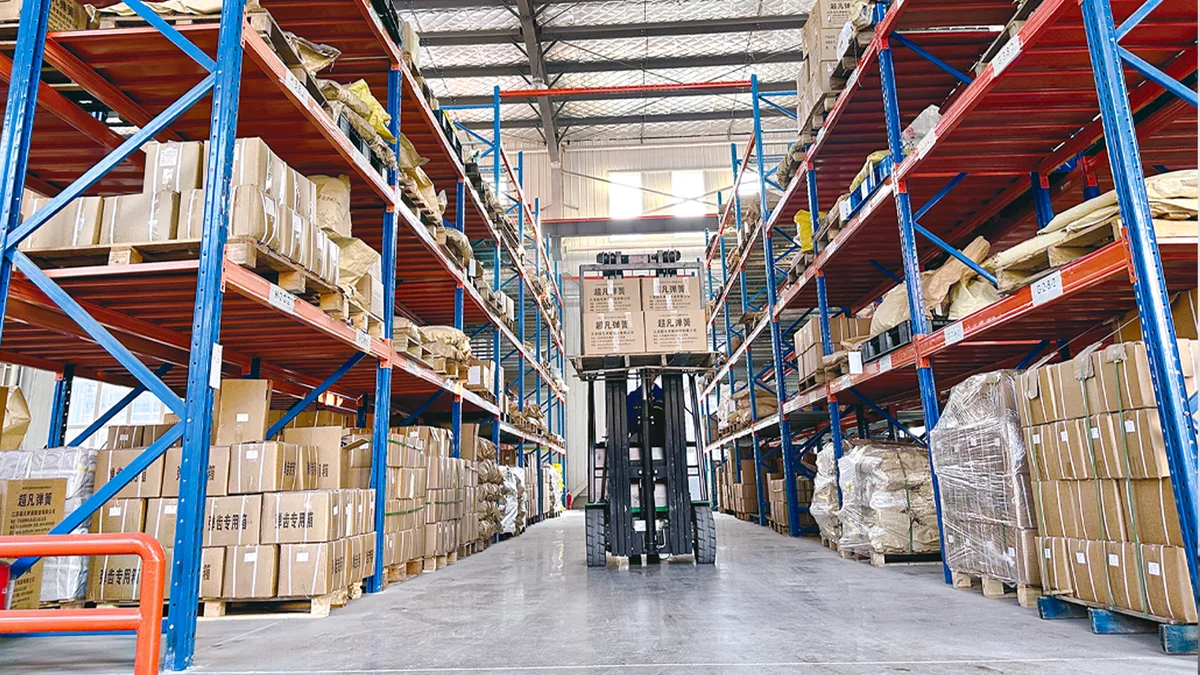
Springs are packed so they arrive undamaged, untangled and identified. Small springs with a high index can tangle in bulk, so they may be packed in layers, trays or on rods; heavy springs are strapped to pallets. Each carton is labelled with the part, quantity and batch, so a batch can be traced back to its production records.
Spring manufacturing process by spring type
| Step | Compression | Extension | Torsion | Wire forms |
|---|---|---|---|---|
| Wire check | Yes | Yes | Yes | Yes |
| Coiling | CNC coiler, or hot coiling for heavy bar | CNC coiler, usually close-wound | CNC coiler | CNC bending or forming |
| Hooks, legs, bends | No | Hooks or loops | Legs | Shape |
| Stress relief | Yes | Yes | Yes | Yes |
| End grinding | When specified | No | No | No |
| Shot peening | High-stress or high-cycle parts | Rarely; coils are closed | High-stress parts | High-stress parts |
| Presetting | Common for high-stress parts | No | Sometimes | Sometimes |
| Finish | As specified | As specified | As specified | As specified |
| Load test | Force at length | Force at length, initial tension | Torque at angle | Function or gauge check |
What the process means for lead time and cost
Each step adds time and cost, so the process explains most of what you see in a quote:
- Tooling and setup: a new spring needs the coiler program set and proven, and wire forms may need dedicated tools.
- Heat treatment and finishing: these run in batches, and baking after plating adds time.
- Extra steps: grinding, peening and presetting each add an operation.
- Inspection and documentation: PPAP or a full first article report takes longer than a standard inspection report.
For a typical custom spring, our samples take 7–15 working days and production 15–30 working days, depending on the spring type, material, tooling, quantity and approvals; we confirm the lead time with each quotation. There is no fixed minimum order quantity: we make small prototype batches as well as high-volume production. Across our three production facilities we make more than 4 million springs a month [17].
What to put on your drawing so the right steps are used
- Material and wire size, or the properties the spring must achieve.
- Working loads or torques at the lengths or angles you need, with tolerances.
- End type for compression springs, and whether the ends must be ground.
- Hook or leg geometry for extension and torsion springs.
- Cycle life, working stress and operating temperature, so we can judge whether shot peening or presetting is needed.
- Finish, and whether chromium(VI)-free or other restrictions apply.
- Inspection and documents you need: report, material certificate, PPAP or FAIR.
Most of our projects start from a customer drawing or sketch, and we can also work from a sample. We review manufacturability before quoting and reply within 24 hours. Browse our compression springs, extension springs, torsion springs and wire forms, watch the process in our manufacturing videos, or send your drawing through the contact page.
Frequently asked questions
How are springs made?
Most springs are cold coiled from hardened wire on a CNC coiling machine, have any hooks or legs formed, are stress relieved in an oven, are ground at the ends if they are compression springs, and are given a surface finish before being inspected and load tested. Heavy springs are hot coiled from bar and then quenched and tempered.
What is the difference between hot coiling and cold coiling?
Cold coiling forms wire at room temperature and is used for most springs, with wire up to about 16 mm. Hot coiling heats heavy bar before coiling and then quenches and tempers it; it is used mainly for springs above the roughly 16 mm cold-coiling limit, and sometimes from about 8 mm where the spring’s size, index or quantity favours it.
Why are springs heat treated after coiling?
Coiling leaves residual stresses in the wire. A low-temperature stress relief relieves them, so the spring keeps its length and load in service. Springs made from annealed wire or hot-coiled bar are hardened and tempered instead.
What does shot peening do to a spring?
It leaves the surface in compression, which resists fatigue cracking. It is used on springs that see high stress and many load cycles, and it is normally followed by a second low-temperature stress relief.
What is spring presetting?
Presetting, or scragging, compresses a spring to solid or to a set load, usually several times, after it is made slightly too long. It reduces the length the spring would otherwise lose in service and lets it carry a higher stress.
How long does it take to make custom springs?
For us, samples typically take 7–15 working days and production 15–30 working days, depending on the spring, material, tooling, quantity and approvals. We confirm the lead time with each quotation.
About the authors
This guide was prepared by the NorenSpring engineering team, which designs and manufactures custom springs and wire forms in Xuzhou, China. Technical review by Feng Yulin, General Manager and senior structural engineer, who has 15 years of spring R&D experience and more than 30 national patents. NorenSpring holds IATF 16949, ISO 9001, ISO 13485, ISO 14001 and ISO 45001 certifications. More about NorenSpring. Photos are from our own plant. Last checked on 13 October 2026.
Sources
The numbers in square brackets in the text refer to this list.
- Wikipedia, Spring (device). Source for small springs wound from pre-hardened stock and larger ones made from annealed steel and hardened after manufacture. Retrieved 2026-10-13.
- US Patent 5,875,666, Spring manufacturing apparatus. Source for the roles of the feed rollers, point tool, pitch tool and cutting tool in a coiling machine. Retrieved 2026-10-13.
- CEN, EN 15800:2008, Cylindrical helical springs made of round wire — Quality specifications for cold coiled compression springs, scope at Genorma. Source for cold coiling with wire up to about 16 mm. Retrieved 2026-10-13.
- US Patent 6,235,131, Method for making springs. Source for the hot coiling sequence (heat, coil, oil quench, temper) and cold coiling from pre-tempered wire followed by stress relief. Retrieved 2026-10-13.
- Lesjöfors, Cold coiling vs hot coiling and Heat treatment for spring steel (manufacturer guidance). Source for wire size deciding the route and for hot-coiled springs needing quenching and tempering. Retrieved 2026-10-13.
- ISO, ISO 11891:2012, Hot formed helical compression springs — Technical specifications. Source for the 8 to 60 mm bar range. Retrieved 2026-10-13.
- R. G. Slingsby, The manufacture of valve springs, reprinted in The Shot Peener library. Source for the purpose and temperatures of stress relief after coiling of valve-spring wire, the process sequence, cold presetting (scragging) and hot prestressing. Retrieved 2026-10-13.
- Gibbs Wire and Steel, Guide to stainless wire. Source for stress relieving 300-series stainless at 700 °F. Retrieved 2026-10-13.
- Lee Spring, Squareness, parallelism and grinding (manufacturer guidance). Source for the reasons to grind compression spring ends. Retrieved 2026-10-13.
- Century Spring, How are springs made? (manufacturer guidance). Source for the ground seat of about 270° and presetting by compressing to solid usually three times. Retrieved 2026-10-13.
- Wikipedia, Shot peening. Source for compressive surface stress resisting fatigue, the use of peening in spring making, and the measurement of peening intensity with Almen strips. Retrieved 2026-10-13.
- M. Hayes, Institute of Spring Technology, Shot peening of springs, The Shot Peener. Source for the minimum 80% coverage and the importance of compressive stress on the inside of the coil. Retrieved 2026-10-13.
- SAE International, SAE J2441, Shot Peening. Source for the engineering requirements for shot peening. Retrieved 2026-10-13.
- M. Hayes, Institute of Spring Technology, Stress relief after shot peening, The Shot Peener. Source for springs taking a set on first loading if not stress relieved after peening. Retrieved 2026-10-13.
- ASTM International, ASTM B850, Standard Guide for Post-Coating Treatments of Steel for Reducing the Risk of Hydrogen Embrittlement. Source for baking after plating and before conversion coating, with conditions chosen by tensile strength. Retrieved 2026-10-13.
- Willrich Precision Instrument, The fundamentals of spring testing (Bulletin 3001). Source for testing load and rate at 20% and 80% of rated load or length. Retrieved 2026-10-13.
- NorenSpring client answers of 28 September 2026 (in-house test equipment list, sample and production lead times, monthly output) and factory answer of 8 October 2026 (post-plating bake practice).